
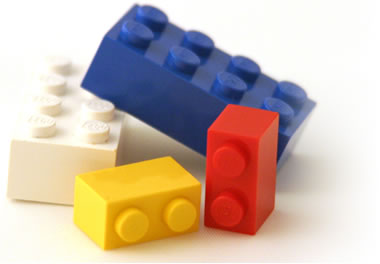
OK so who didn't play with Legos as a kid? Tons of little primary colored blocks spread out all over the living room floor that when joined together created cars, castles, skyscrapers, the possibilities were endless (but confined to the 2, 4, 6, 8 peg squares that you had). Then it seemed that Lego's transformed into fantastic creations that require blueprints to create! Star Wars, Harry Potter, Lord of the Rings, Spiderman - seemed to have taken over the Lego world. Perhaps I come to this conclusion because I have a little brother who would spend hours building things like this!


But aside from being a way to occupy kids for hours on end, if you think outside the box - these little building blocks can be used to build grander things! I just came across this amazing image of an entire stairwell built out of Legos! This was built using 20,000 lego blocks!
 |
| via Design Taxi |

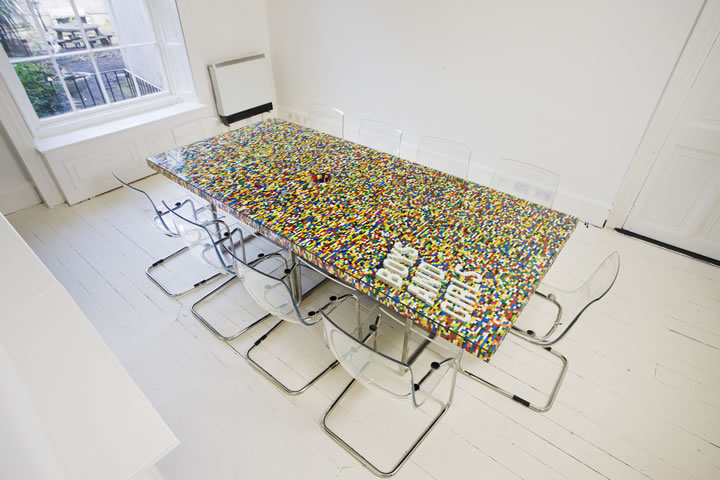 |
| via abcg architecture & design |
Lego Pencil Case
 |
| via BrickPlayer |
Tape Dispenser
 |
| via instrucables.com |
Check out this Ikea Hacker who created a light fixture out of Legos.
 |
| via Ikea Hackers |
How about Lego Jello Jigglers? Wash out your legos and use them as Jello molds, a great idea for a kids party!
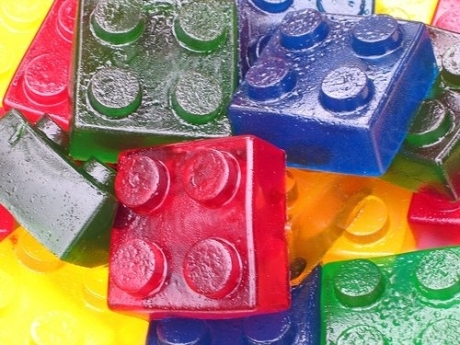 |
| via Totally Kids Times |
Lego Backpack
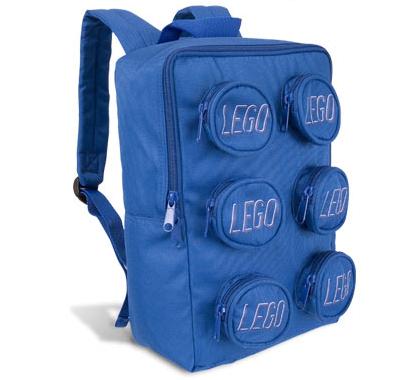 |
| via GearFuse |
Lego Salt & Pepper Shaker (I love these!)
 |
| via Amazon |
Lego Brick Light
 |
| via Perpetual Kid |
Lego Wii Remote
 |
| via Toys R US |
Lego Moleskine Notebooks
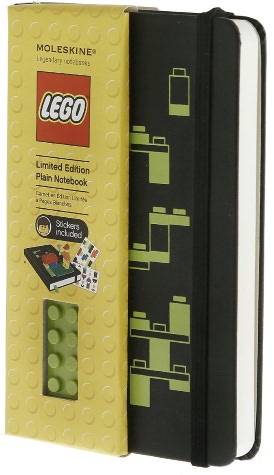 |
| via Barnes & Noble |
Lego Organizer Cubes (ok maybe these are meant to organize the actual Legos - but these couldn't these be used in an office? or a kitchen to organize other things?)
 |
| via Amazon |
So have I convinced you that Lego's aren't just for kids? Will you be raiding your kid's Lego collection to create something of your own? Well happy building!


